

We've actually installed quite a bit of hardware lately. We are using butyl tape to seal the holes and are quite pleased with it. It's a bit fiddly, but it goes down into the holes, stays soft for ages, and is easy to clean off the deck. Not at all like that messy goop in a caulking gun, so "Hurrah!" for that.
First we dry fit each piece to make sure the backing plate still fit. Next we countersunk the holes and wrapped a little worm around the fastener. Then we put a layer of tape on the bottom of the hardware and slipped it into the holes.

The first day we tightened each piece really well, then the next day we tightened everything a second time. After the first tightening we picked/pulled off the excess butyl.
On the genoa tracks we put worms of butyl on the top of each fastener and also on the bottom of the riser, and a strip all along the bottom of the riser. We had the new risers made at a local sign shop out of 3/8" thick acrylic plastic because the old ones were broken and crumbling.
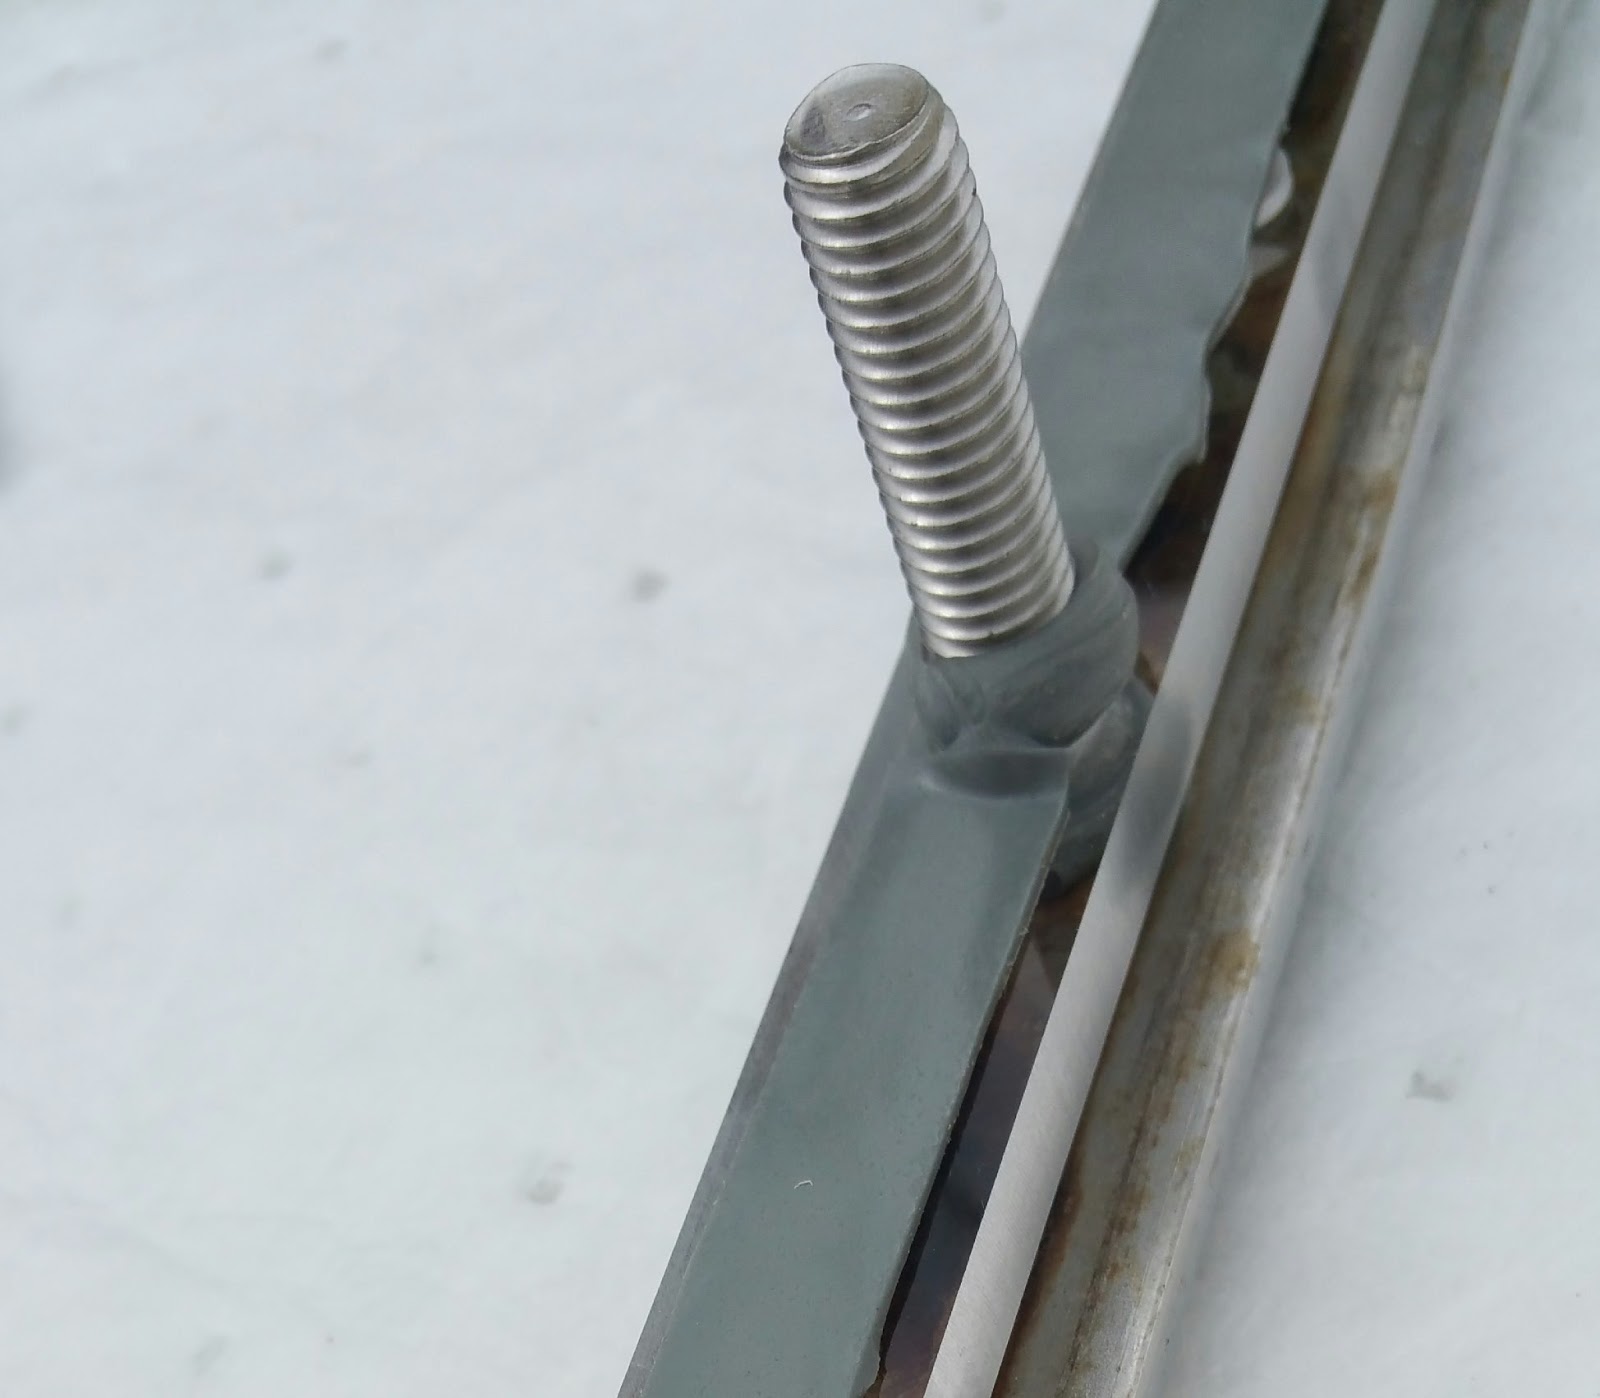
We did have a big problem with the bolts though. They are 3/8" x 3" and we thought we would use the old bolts, but there just wasn't enough room. Check out these sketches I made illustrating the problem.

The teak decks were about 3/8" thick and when we removed the wood, the decks esentially became 3/8" thinner. The space between the bottom of the decks and the headliner is only 5/8", just enough for the lock washer, nut, and three empty threads. Consequently we had to order ninety shorter bolts and lost a day waiting for them to arrive.

In other places where there was more room we were able to use old hardware.
One of the really good things about installing hardware is that we can put the lockers back together and install the headliner pieces. Oh, but wait. The headliner is vinyl that has been spray glued to 1/8" plywood. Over the years, because of age and heat I guess, the glue had all dried up and several places were baggy.
By removing lots of little trim pieces we were able to pull back the vinyl, apply new glue and reattach a lot of it. Unfortunatey, some pieces are behind large, difficult to remove trim pieces so we couldn't reglue all of it.
And what a terrible mess that old adhesive made; it was all dried up, crumbly, and dusty, and went everywhere, but we had to remove it before applying the new glue. I cut open large black trash bags and taped them over the walls and cabinets for protection, sanded and vacuumed off the old mess, then sprayed the new glue on both surfaces. After waiting a minute I smoothed the vinyl back in place and we put the trim back. The headliner looks better than it's looked in ages.
No comments:
Post a Comment